The SensoPad is a capacitive proximity detector designed to work through insulating materials such as wood, glass, or other non-conductive surfaces. Its installation depends on the thickness of the support: one method is suitable for thin supports, while another is recommended for thicker supports.
Installation on a Thin Support
For optimal detection through a thin wall (less than 10 mm), follow these steps:
- Cut the detection area on the support according to your needs.
- Directly stick the SensoPad to the back of the detection area, ensuring the conductive adhesive is in good contact with the surface.
- Make sure the SensoPad is firmly attached to avoid any movement that could compromise detection.
Installation on a Thick Support
For thicker supports or to increase the detection area, the use of an additional electrode is recommended:
- Cut the provided aluminum sheet to the desired size and shape to create an electrode suitable for your application.
- Stick the electrode to the back of the support, covering the area where detection should occur.
- Place the SensoPad on the electrode, using the conductive adhesive to ensure optimal electrical contact.
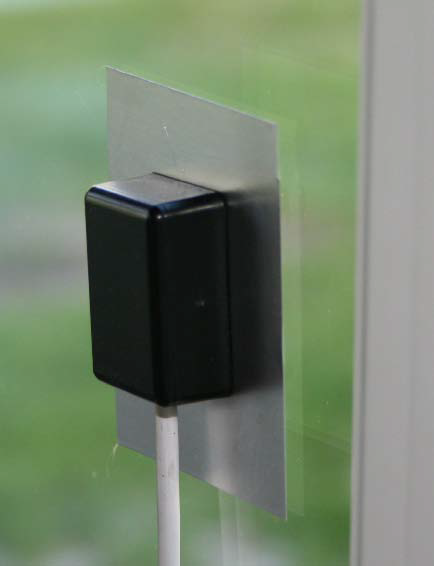
Warning: The adhesive provided with the SensoPad is conductive. If you need to move the SensoPad, it will likely be necessary to replace the adhesive. Using a non-conductive adhesive will prevent electrical contact between the SensoPad and the electrode, which could make the detector inoperative.
Was this article helpful?
That’s Great!
Thank you for your feedback
Sorry! We couldn't be helpful
Thank you for your feedback
Feedback sent
We appreciate your effort and will try to fix the article