Creating a Project
- In the File menu, select New Project or click the dedicated icon.
- The New Project dialog box appears.
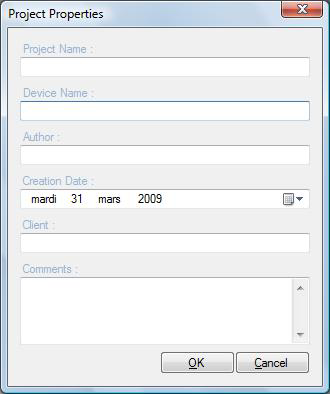
Fill in the optional fields if desired:
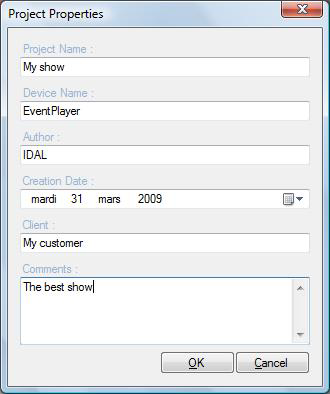
- Project name,
- Equipment used,
- Author,
- Last modification date,
- Client,
- Comments.
- Click OK.
Project properties: the Project Properties window also lets you enable or disable the Output Contacts and Serial Communication tracks. These options affect the tracks displayed in the project and the export of .SC2 and .SC3 files.
Saving a Project
Your work is saved in a project file with the .ps2 extension. This operation saves all project information on your computer so you can reopen it later.
- Select Save from the File menu or click the dedicated icon.
- Choose the drive and folder where you want to save the project.
- Enter the project name in the File Name dialog box.
- Click Save.
Was this article helpful?
That’s Great!
Thank you for your feedback
Sorry! We couldn't be helpful
Thank you for your feedback
Feedback sent
We appreciate your effort and will try to fix the article