TABLE DES MATIÈRES
AP420
Go to the "Scenario" menu and start by clicking "+Add an element" or click on the "+" button.
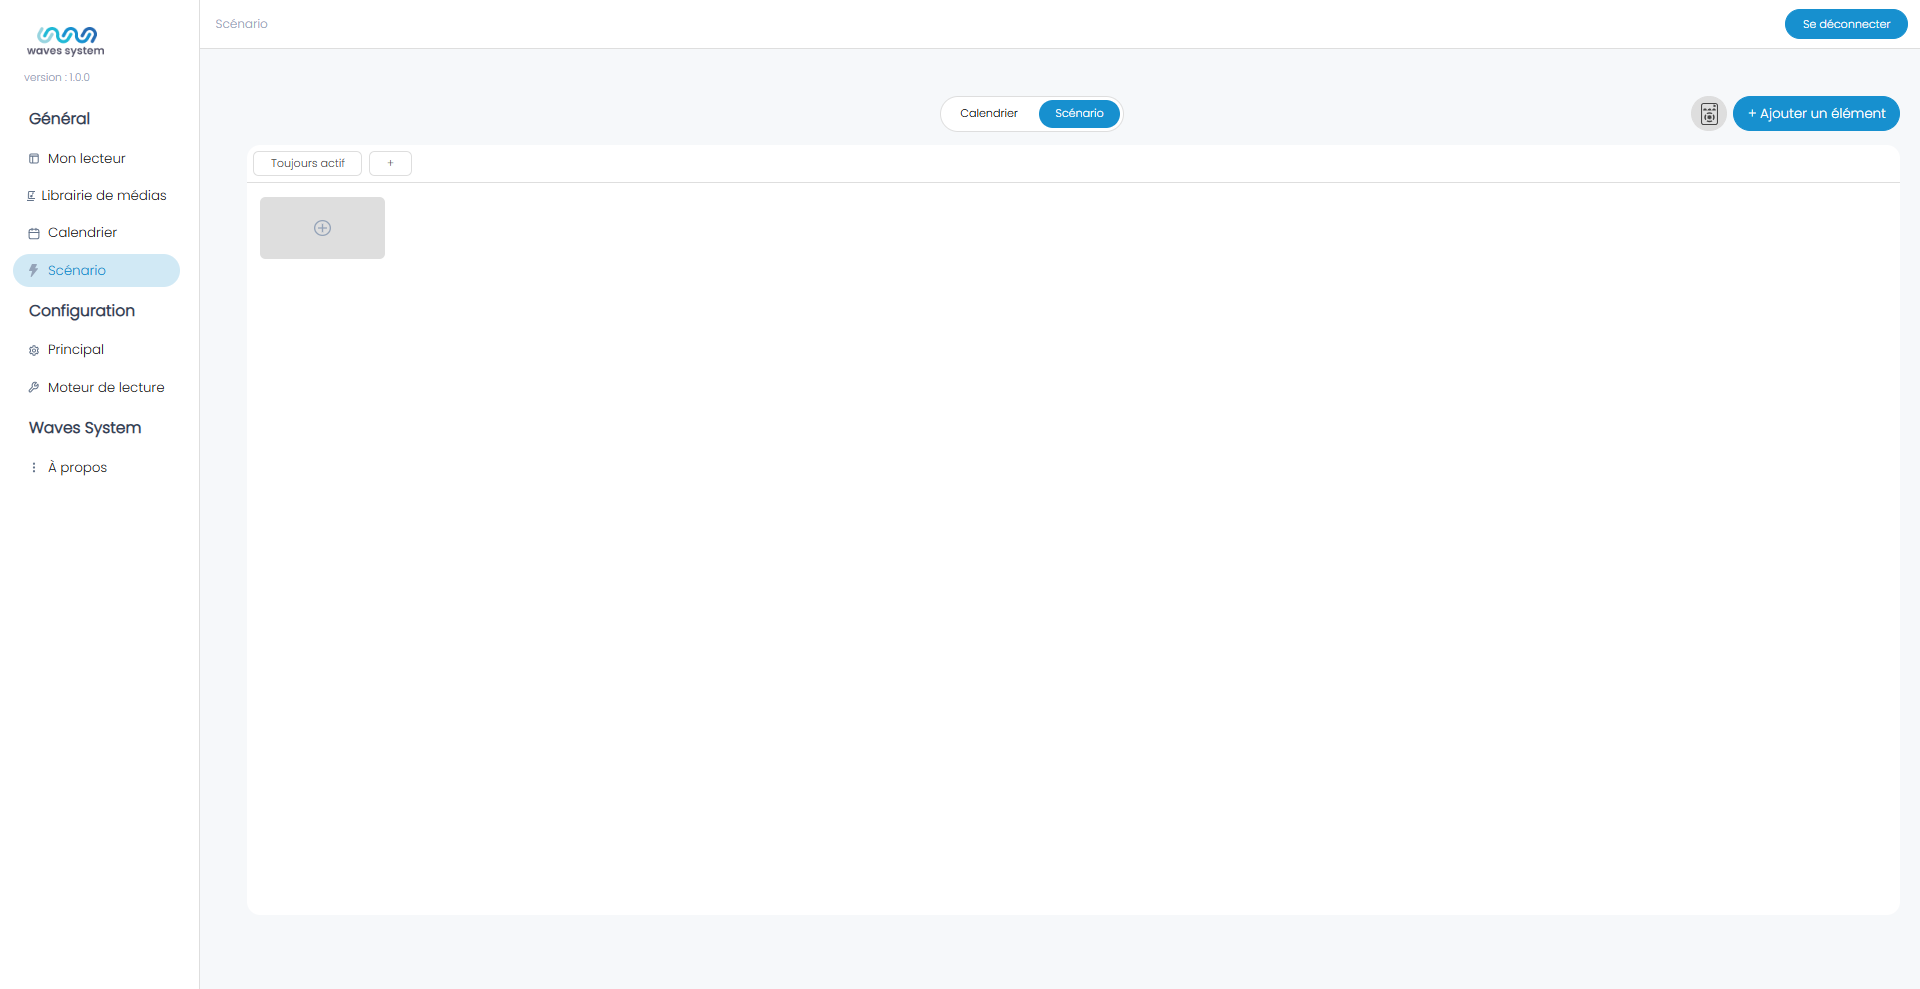
The interface allows you to create a trigger or a state.
Trigger
By selecting a trigger, you create a trigger-action pair that allows you to describe the Player's behavior when the trigger occurs.
Every time the trigger is true, the resulting action is performed. This is why the trigger-action is linked to "always active" in the breadcrumb trail.
State
By selecting a state, you create a state machine that allows you to condition the Player based on specific conditions. For example, triggering a non-interruptible message or a series of messages with increasing priorities requires a state machine.
Scenario: An interruptible message on a push button connected to input contact No. 1
Add a Trigger: A "Trigger-Action" pair is created.
A properties menu for the Trigger and Action appears on the right.
The Trigger menu is unfolded. The pen allows you to rename the Trigger.
Select the Type: Input Contact, then the input number 1.
By default, the trigger is activated when it is pressed.
The Action menu is collapsed by default.
- Unfold it with the right arrow.
- Select the type: Content Playback
- Select the playlist you want to play
- Select if the playback is random and the playback mode.
- Save at the top right.
The Player will play the playlist every time input contact No. 1 is pressed.
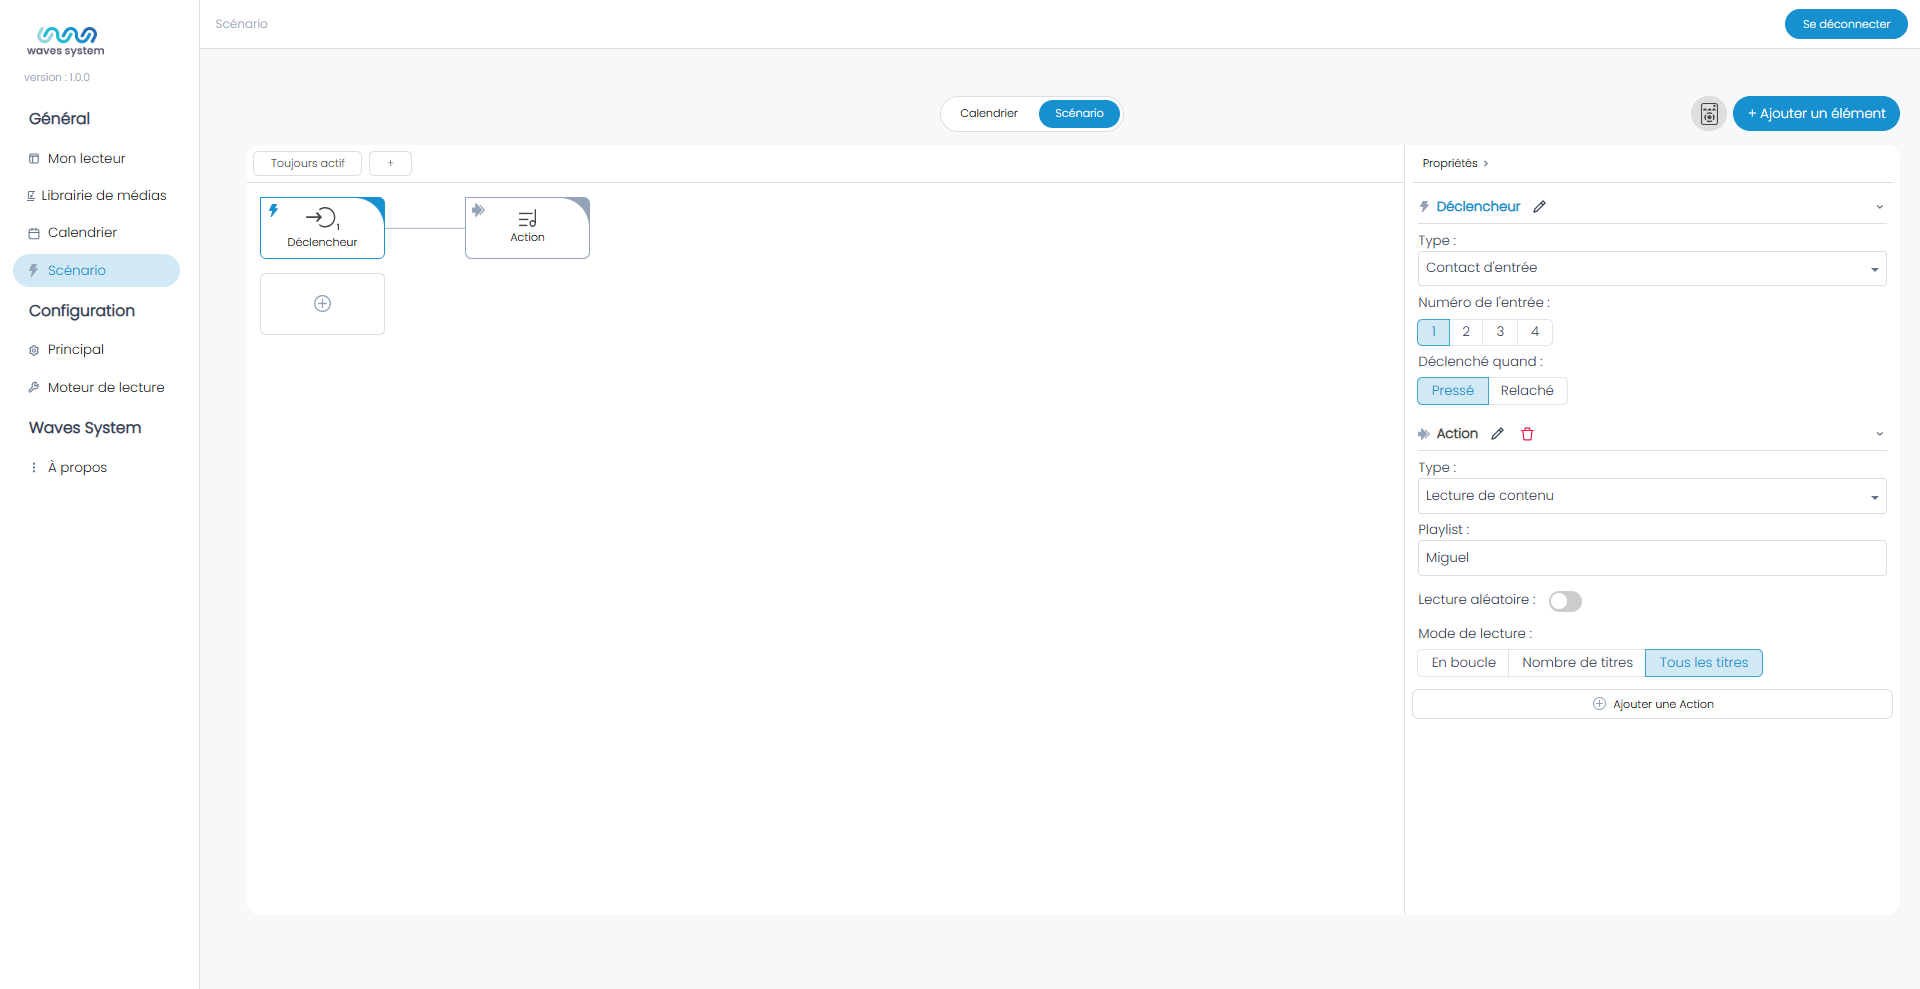
Click on Save; your scenario is finalized.
Wavespark Audio
The Scenario is integrated with the calendar in "Projects." Once the project is created, go to the three dots and click "Edit Scenario."
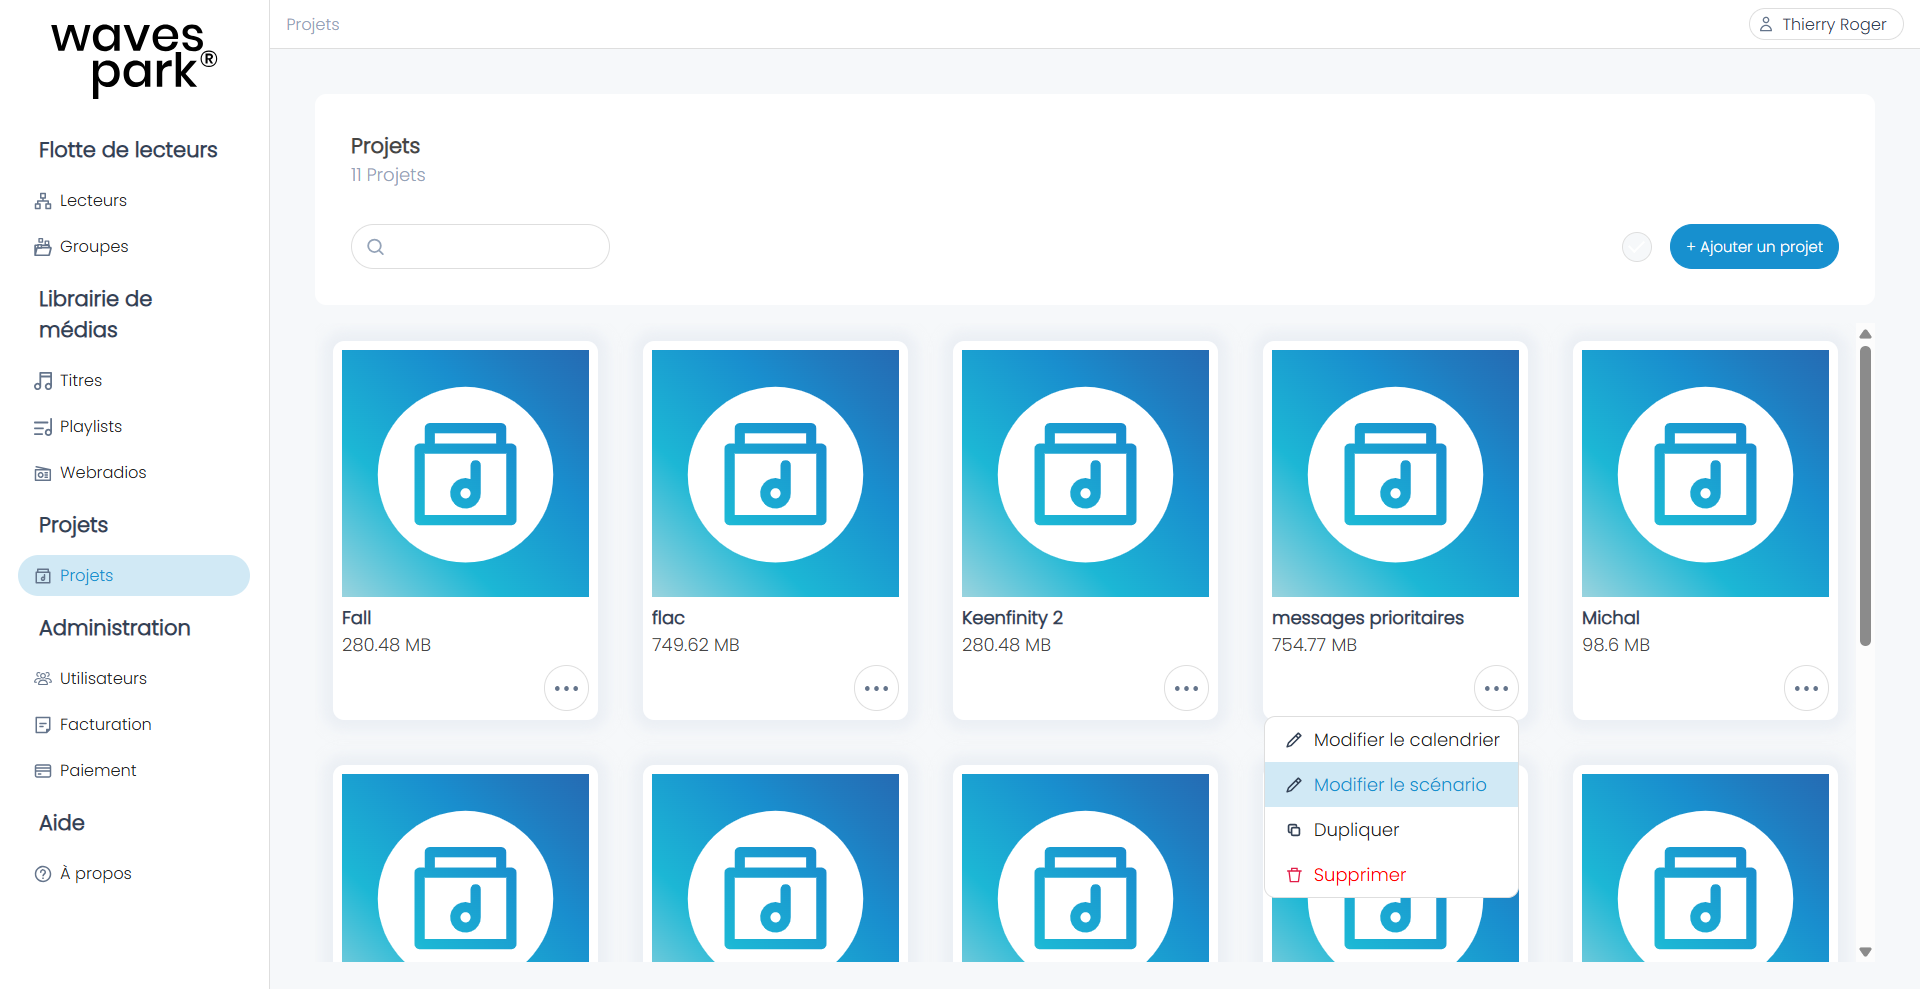
The interface is similar to that of a Player. You create your scenario within the project. Then, you will associate the project with the Player(s) in the Players view.
Was this article helpful?
That’s Great!
Thank you for your feedback
Sorry! We couldn't be helpful
Thank you for your feedback
Feedback sent
We appreciate your effort and will try to fix the article